|
First
off create a new document. Then a new LAYER.  |
 |
Make
a new selection  of the shape of the paper you want. (Or you can open an
existing design to add the crumpled effect to.) Fill it with the
color of paper you want. (Note: if you want white paper then you
either need a black background or slightly grayed paper.)
of the shape of the paper you want. (Or you can open an
existing design to add the crumpled effect to.) Fill it with the
color of paper you want. (Note: if you want white paper then you
either need a black background or slightly grayed paper.) |
 |
Create
one more layer. (keep
the selection active) Make sure your foreground and background
colors are black and white. Go to FILTERS>RENDER>CLOUDS.
Then FILTER>RENDER>DIFFERENCE CLOUDS. It should look something
like this now. |
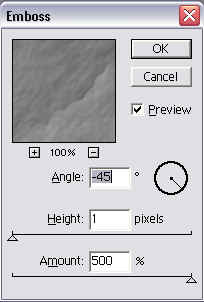 |
Next
go to FILTER>STYLIZE>EMBOSS and use these settings. angle:
-45, height : 1, amount: 500%. Hit OK. |
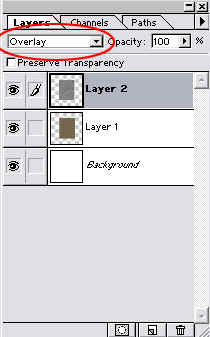 |
Now
go to the layer properties pull down menu. Change this to OVERLAY. |
 |
Your
image should look something like mine here. Now from this point
there are a couple of things you can do. They are listed
below. |
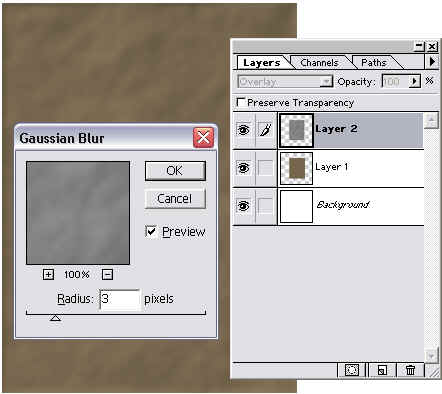 |
1.
go to FILTER>BLUR>GAUSSIAN BLUR and use a setting of about 2-4.
This will give it a softer wrinkle, not so creased. |
 |
2.
You can change the layer opacity (left side of the layer palette) to
whatever looks good to you.
|
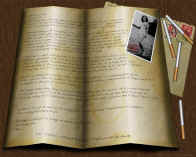 |
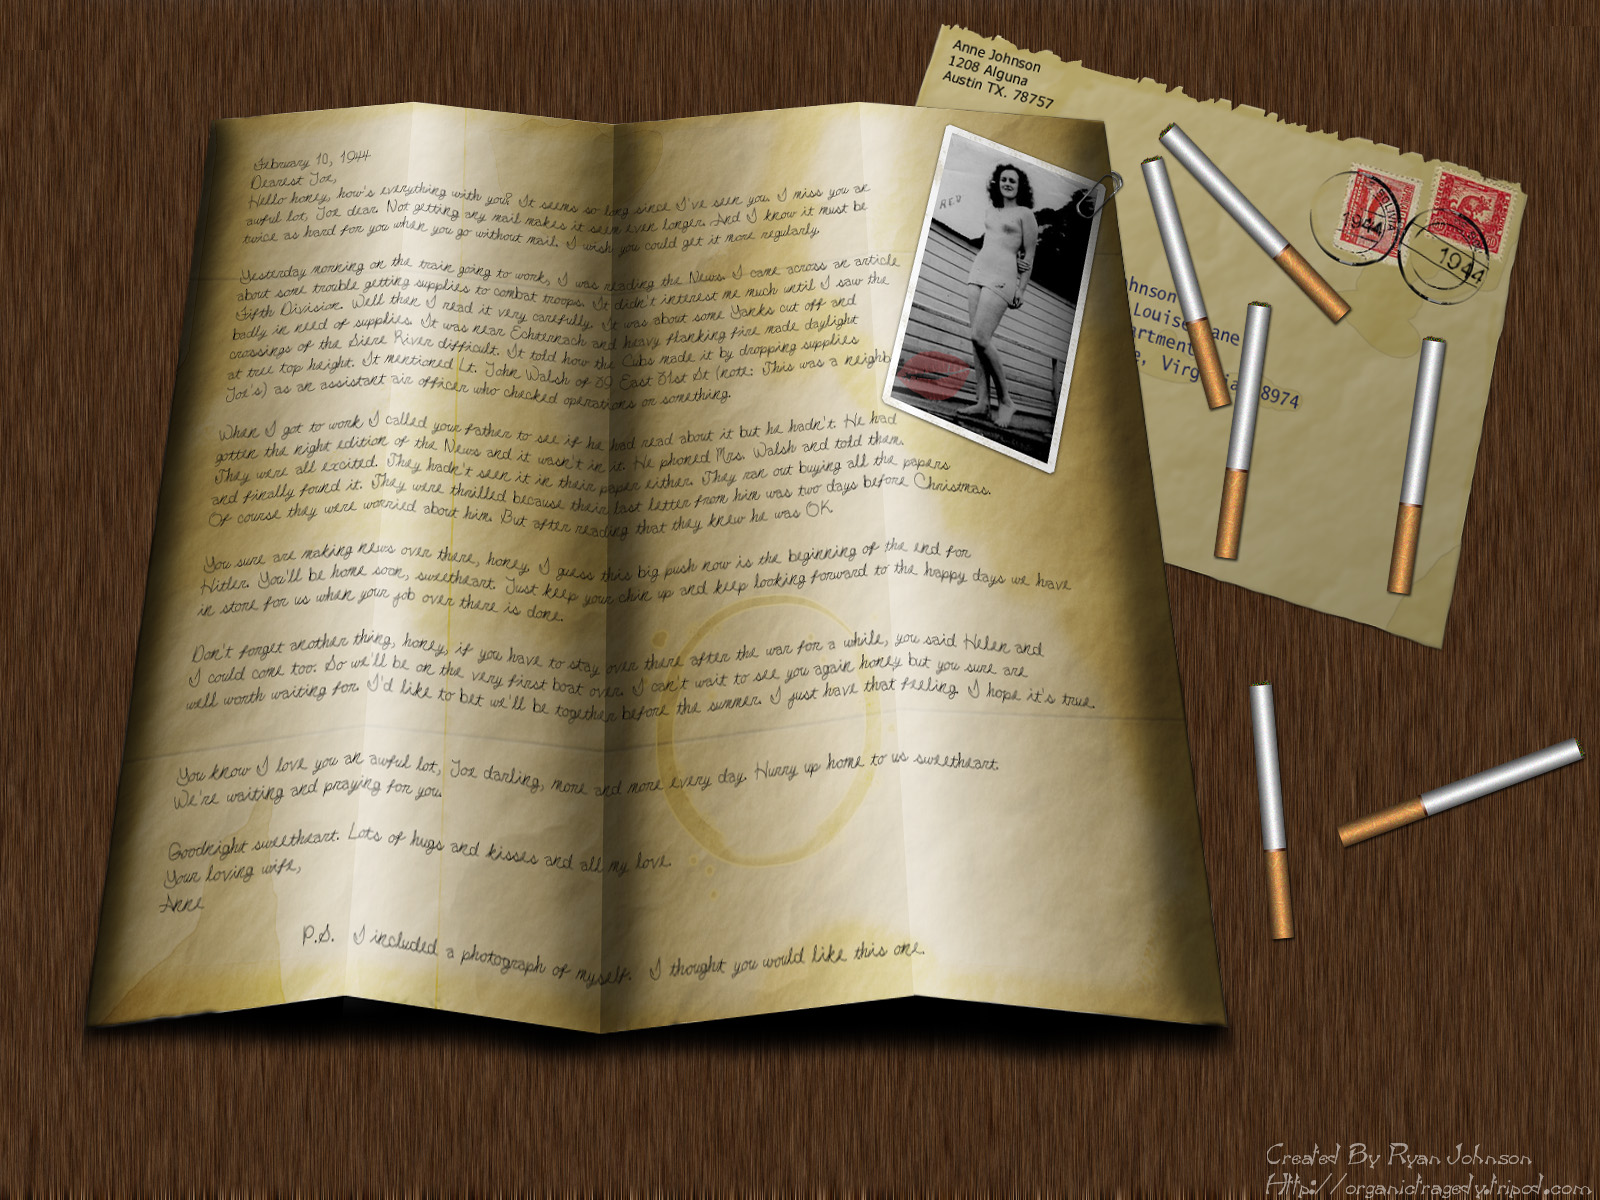
3.
Use a combo of both which is what I used in the image to the left.
Click on it to see the full image. Anyway that's the best way I know
how to get paper to look wrinkled and imperfect. Works pretty well
and its convincing.
|
| |
TIP:
If you have text on the paper and want it to follow the contour of the
paper. Create a new document and make ONLY the black and white
emboss with the clouds and such. Save it in .PSD format. Now
when you make your paper and want to adjust the text to wrinkle as well go
to FILTER>DISTORT>DISPLACE with the default settings, press OK and
when the OPEN FILE dialog box appears choose the saved .PSD of the
clouds. Viola! Warped text too. Again that's what I used
in the Letter Home.
|
|
|
|