|
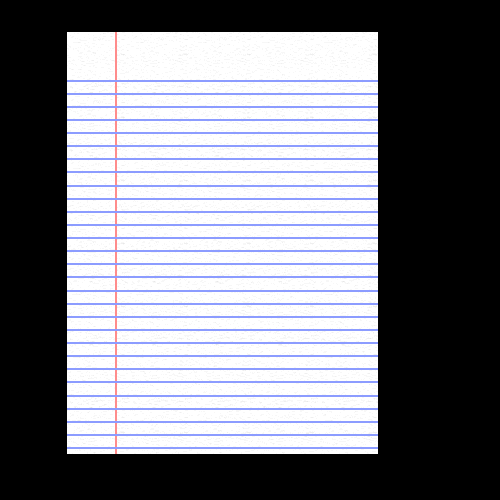
This
is the piece of paper we will tear. Make sure that the object you
want to rip is on its OWN LAYER, separate from the background.. Keep
in mind you can do this with pretty much any material. I used this
well known technique to make my VINE interface look ripped. |
 |
Now,
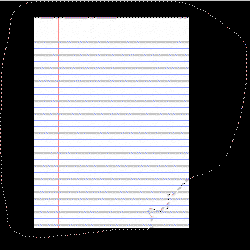
we need to make a selection of the area we want to rip. There are a
number of ways to do this. Personally I do the way in the
picture. You need to select the NEGATIVE of what you want
ripped. So since I want the bottom right corner ripped I selected
everything BUT the bottom-right corner and of course I made a jagged edge
at the corner I wanted ripped.
Note: Another way
is to select exactly what you want ripped and then go to
SELECT>INVERSE which will select a negative of what you want
ripped.
|
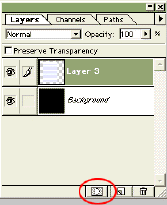 |
Next
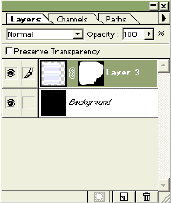
select the layer with the object you wish to rip and click ADD LAYER MASK
at the bottom of the layers window. |
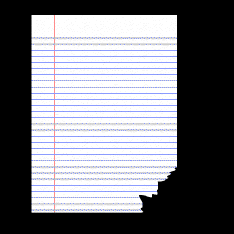 |
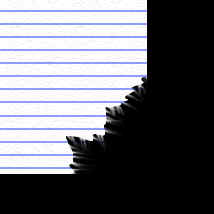
Your layers palette will look like the one below yet your paper will look
like the paper to the left.
|
 |
Ok,
now this looks all fine and dandy, but not very real. So what we do
now is simple and requires SOME artistic ability.
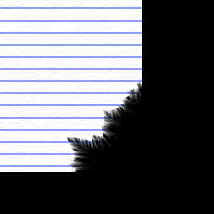
Zoom in on the torn area click on the SMUDGE TOOL  and select a brush size of 2-3 pixels (I used 3) and start smudging the
torn area, not too many with this big brush though!
Note: Be crazy
here, you need to make this look random. Yet keep the smears
SHORT! I exaggerated on mine to prove a point.
|
 |
Next
select a one pixel brush and do the same thing, but to more of the edge
because these are the smaller paper fibers. |
 |
So,
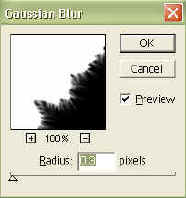
you can stop here or what I usually do is FILTER>BLUR>GAUSSIAN BLUE
it by 0.3 It gives it a realistic ripped effect. |
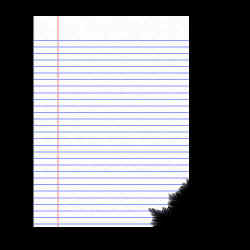 |
It
turns out great, and its the easiest ripping tutorial you will ever see.
Note: Remember this
effect can be applied to anything! I used it for my vines, you could
use it for cloth, cardboard or even wood textures!
With wood you will want it to look splintery, so don't use as many smear
strokes. |
