|
Ok
first thing start with a blank canvas that is
SQUARE,
I
used
500 pixels by 500 pixels |
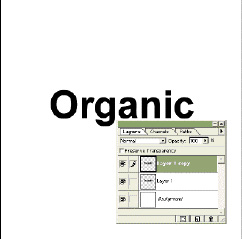 |
Add a new layer,
then with a background of white and a foreground of black type the text you
want. It should look something like that one to the left.
Then go to LAYER>DUPLICATE LAYER and press OK.
**Note:
Photoshop
6.0
users
and
up
will
have
to
RASTERIZE
their
text
layer
at
this
point |
 |
Then go to
EDIT>FILL>BACKGROUND COLOR make sure it is set to
MULTIPLY Now go to Filter>Blur>Gaussian Blur and set a radius of
2. Then go to FILTER>STYLIZE>SOLARIZE |
 |
Ok now its gets
interesting,
go to FILTER>DISTORT>POLAR COORDINATES and select POLAR to
RECTANGULAR. now go to IMAGE>ROTATE CANVAS>90 DEGREES CLOCKWISE |
 |
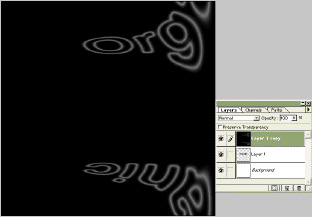
Now press CTRL-I to invert
the color. Then go to FILTER>STYLIZE>WIND and apply the wind
filter
two
times. Then go to IMAGE>ADJUST>AUTO LEVELS. |
 |
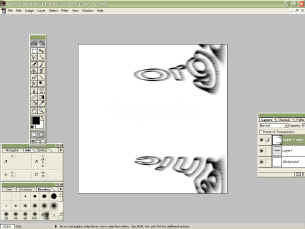
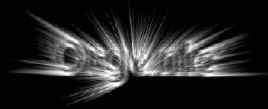
Next press CTRL-I again then
apply the same wind filter again
THREE
more times. |
 |
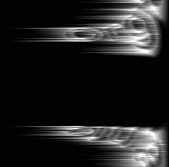
Now go to IMAGE>ROTATE
CANVAS 90 DEGREES COUNTER CLOCKWISE. Now go to
FILTER>DISTORT>RECTANGULAR TO POLAR.
Pretty
weird
how
that
works
out
huh? |
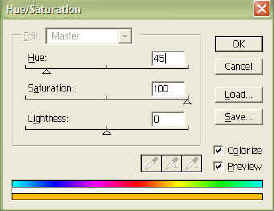 |
Now
to
colorize
it.
IMAGE>ADJUST>HUE AND SATURATION. check the COLORIZE box Use these settings.
|
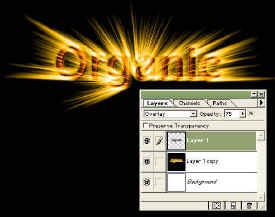 |
Take the layer just below
the one
you
just
colorized
and move it above the explosion one. Then Set the
blending mode in the layer palette to Overlay and set the opacity to about
75% and there you go!
|